KitchenAid mixer leaking oil or grease from the head: what is normal and when to get it fixed
By Alex at MixerFixer, Vaughan · Updated October 13, 2026
The short answer
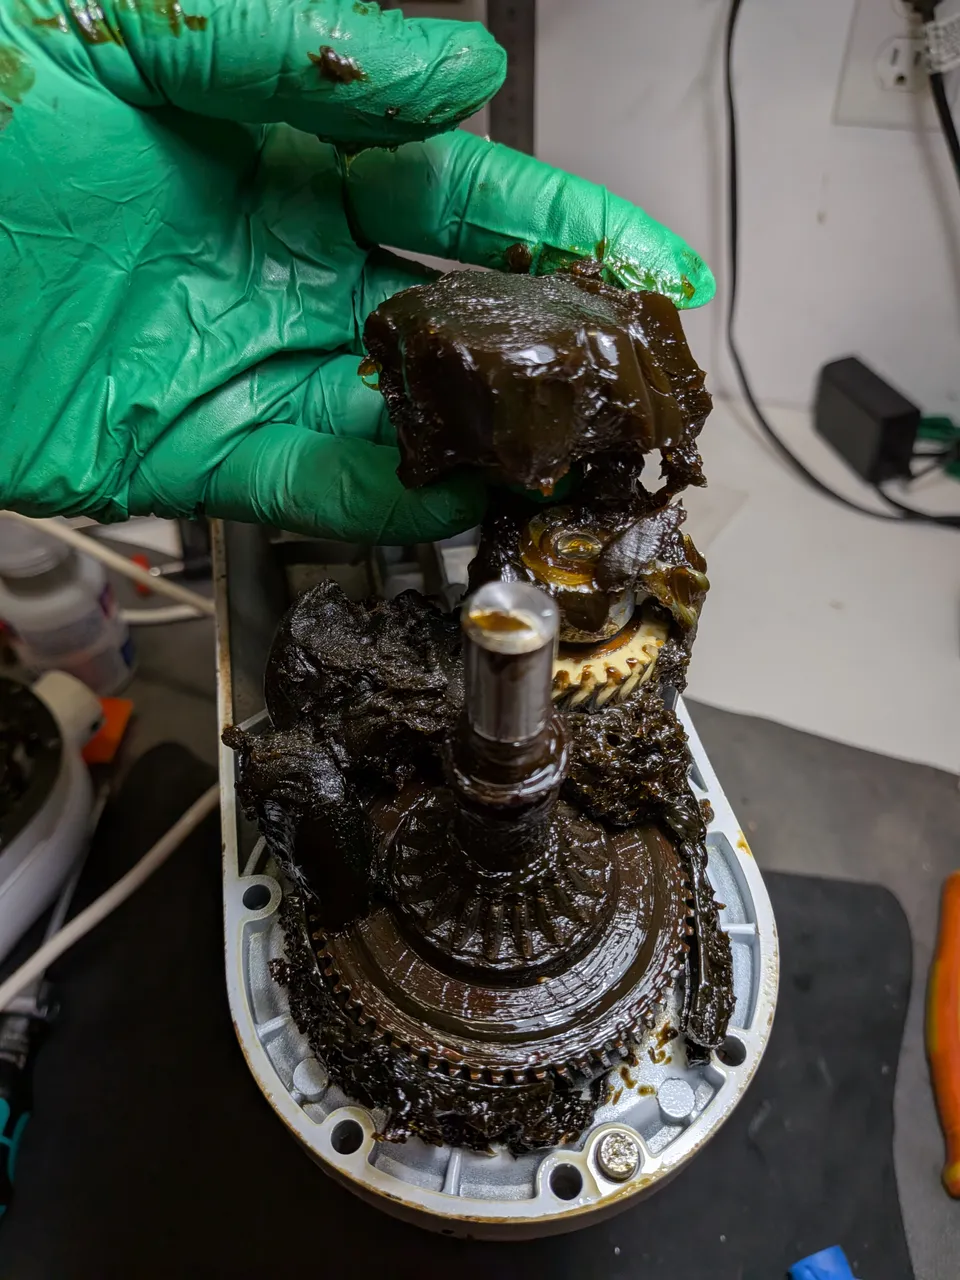
A little oil around the beater shaft, or weeping from the head, is common and normal. KitchenAid says the mixer is packed with grease meant to last, that some oil can separate out of it over time, and that the grease is food grade. If the mixer sounds normal and is not grinding, it can keep being used. Thick dark grease, a steady drip, black specks in your food, a burning smell or any grinding means it is time to get it fixed.
Why a KitchenAid leaks oil
Inside the head, the gears run in a packed reservoir of solid grease. Over time some of the oil can separate out of that grease and settle at the lowest point in the head, which is just above the beater shaft. That is the oily ring or drip you see near the beater.
Heat from heavy loads, long gaps between uses and plain age all make it more likely, and it tends to show up more in warm weather.
Is the oil safe around food?
KitchenAid says the grease it uses is food grade and approved for incidental contact with food prepared in the mixer, though it can discolour light coloured foods like frosting.
If you can actually see grease or dark specks in a batch, the safest move is to throw that batch out. A mixer that shows that has gone past a little separated oil.
What you can try at home
- Wipe it away and watch whether it comes back.
- Run the mixer with an empty bowl now and then. KitchenAid suggests this to help prevent it, and its help page also mentions running the mixer at top speed for a couple of minutes before use once leaking has started.
- Do not add oil. KitchenAid says adding oil is not part of regular maintenance.
- Let the mixer cool between heavy batches, and try not to overload it. The one-page care guide covers the rest.
When it needs a service
KitchenAid is clear that once a mixer has started to leak, the only way to stop it completely is a service: the old grease comes out, the gasket is replaced and the gearcase is packed with fresh grease.
- Oil or thick, black grease pooling under the mixer
- Dark specks or streaks appearing in dough or batter
- A burning or hot smell after a few minutes of mixing (see burning smell)
- The head feeling loose, or the mixer running louder than it used to
- Any grinding at all (see grinding noise)
What the repair involves
My re-grease and gasket replacement is the fix for a leak on its own. I strip the mixer head down, clean every trace of the old grease out, replace the worn gasket and pack the gearcase with fresh food-grade grease to the right fill. Then it is reassembled, speed checked and test run before it comes back. The price is the same on tilt-head and bowl-lift mixers.
If the mixer is grinding as well as leaking, the full tune-up does the same job and fits a new worm gear at the same time, which costs less than two separate repairs.
If it turns out your mixer only has a little harmless separation, I will tell you that and not sell you a repair.
The repair for this
Re-grease and gasket replacement
$100 any mixer
Confirmed before any work starts, and usually back in 2 to 3 business days. Pick up and drop off is $20 in Vaughan, Kleinburg and King City.
Related repairs
- Re-grease, gasket and worm gear replacement$150 tilt-head · $175 bowl-lift
- Diagnostics$40 any mixer